Hi all,
In this blog post, I will show you how simple you can create a Power BI Dashboard from your Microsoft Defender Advanced Thread Protection Data.
There is also a very good documentation from Microsoft: https://docs.microsoft.com/en-us/windows/security/threat-protection/windows-defender-atp/powerbi-reports-windows-defender-advanced-threat-protection for the first part.
Just to be Clear, Windows Defender ATP is now –> Microsoft Defender ATP 🙂
However, the second part is different to the Microsoft documentation.
Part 1
As a first step, log on to the Security Center: http://securitycenter.windows.com
After clicking on the settings-symbol, choose the option “Power BI reports” and click on the “Create Dashboard”-button.
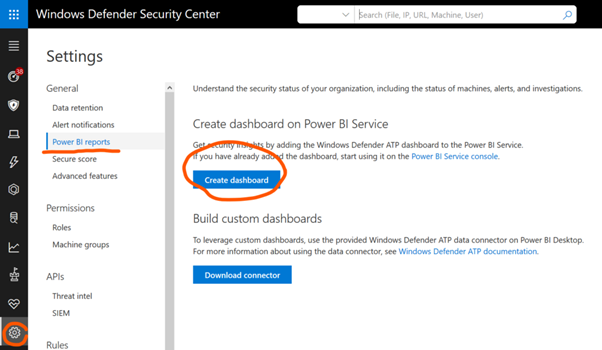
This button will open a new tab in your browser and shows the Power BI online Service Website.
Log in with the same account as you logged-in to the Security Center:
Additional information:
If it is your first log-on, you need to answer some questions and specify some details about the authentication method (use OAuth2). You need as well to accept the access rights.
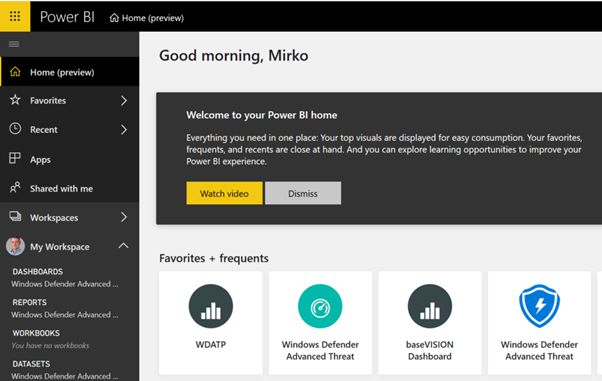
Choose “Windows Defender Advanced Threat Protection” in the category “My apps”.
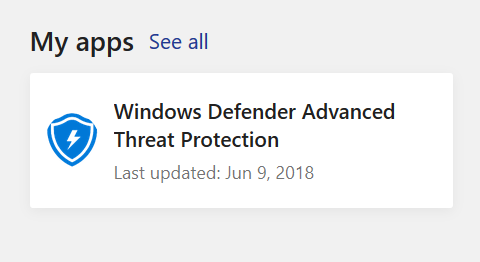
This will open and show you a per-provisioned dashboard.
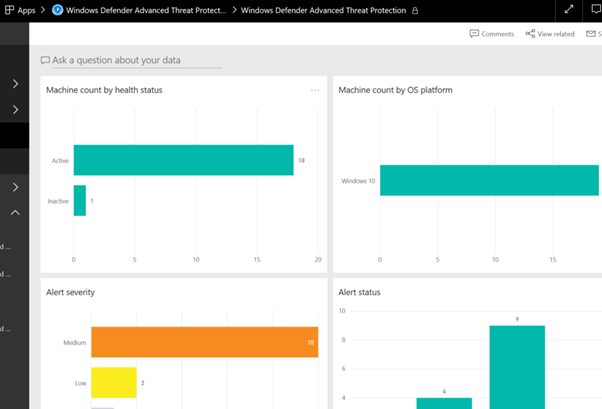
In case you would like to see a report or create your own dashboard or report, follow the instructions provided below:
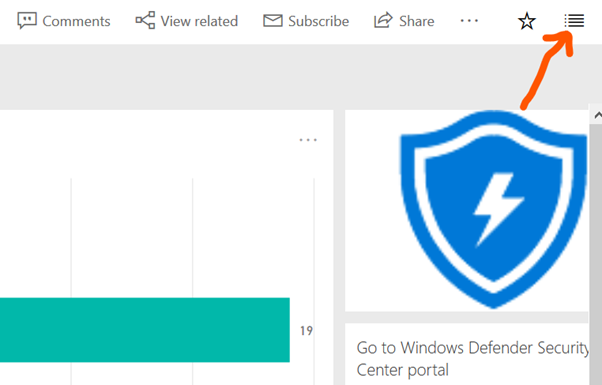
Stay on the current dashboard and select the hamburger-button in the top right corner:
This will show you a dashboard, a report and also the connector (datasets) information:

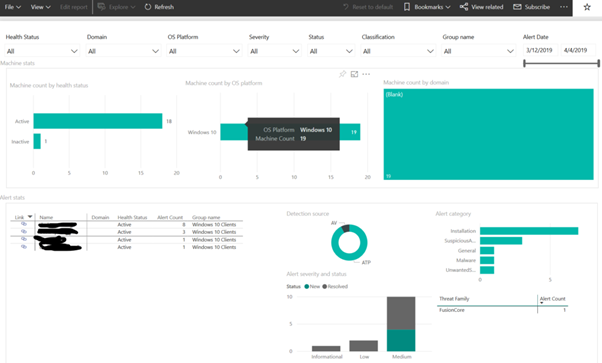
Open the report and have a look at the data shown in this report. In the footer, you have also some register tabs to split the information in different sections:
Would you like to save the report or dashboard on your own workspace? This is difficult, but you have the option to share the dashboard / report and use it from there.
If you would like to build your very own reports, use the connector from the security center “Build custom dashboards”.
Attention:
This dashboard provides you only with a preview and shows only data from the
last 30 days.
Part 2
To understand how the connector works, read the instructions below. Please note that the docs page is no longer matching the today’s Power Bi Desktop:
Prerequisite:
Download and Install Power BI for
Desktop
https://www.microsoft.com/en-us/download/details.aspx?id=45331
Start using ATP data with Power BI:
- Open the Power BI Desktop application after the installation has finished
- As a first step, use the same credentials as in first part to log in (This is to connect your Power BI online sources)
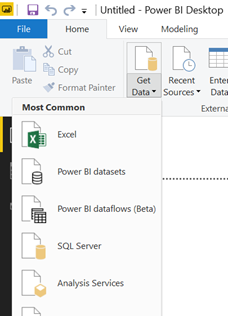
- Select “Get data”
- Choose “More…”

- By typing the word “Graph“ the option “Microsoft Graph Security (Beta)” appears.
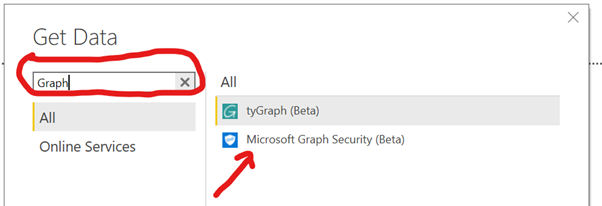
- Select “Microsoft Graph Security (Beta)” and connect.
- Select “continue” on the preview connector wizard
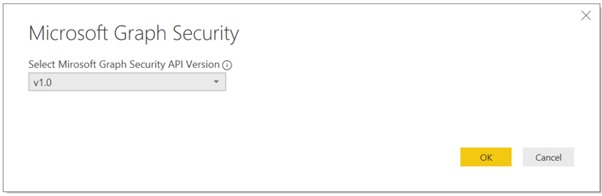
- In the next wizard, select the version of graph (1.0) in the version 1 of graph are elements and paths which are no more changing. If you like to play with some options coming, choose “Beta”. But be carefully, these settings can change daily.
- The log-on-mask to login to graph will appear. Since the information you connect is sensitive, you have to use an account with admin rights in the WADATP Security Center (or in minimum read rights).
- Afterwards, the “Navigator” wizard pops up and you have to select all “Display Options”
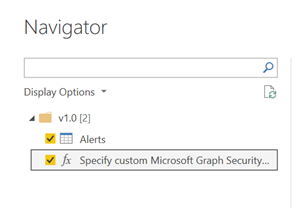
- As soon as the data is loaded, some information to select will appear.
- This looks like:
In my opinion, this information is not very helpful since it is mainly used to control and remediate alerts.
If you connect to the Power BI online services, you can connect to the data from the first part in this blog:
To use the data from Power BI, open Power BI Desktop:
- Open the Power BI Desktop application after the installation. Use again the credentials as in first part to log in (This is to connect your Power BI online sources)
- Select “Get data”
- Choose “Power BI Datasets”
- As a next step, select “My workspace”
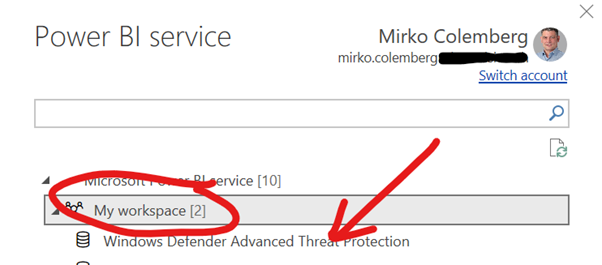
- Select “Windows Defender Advanced Threat Protection” and click “Load”
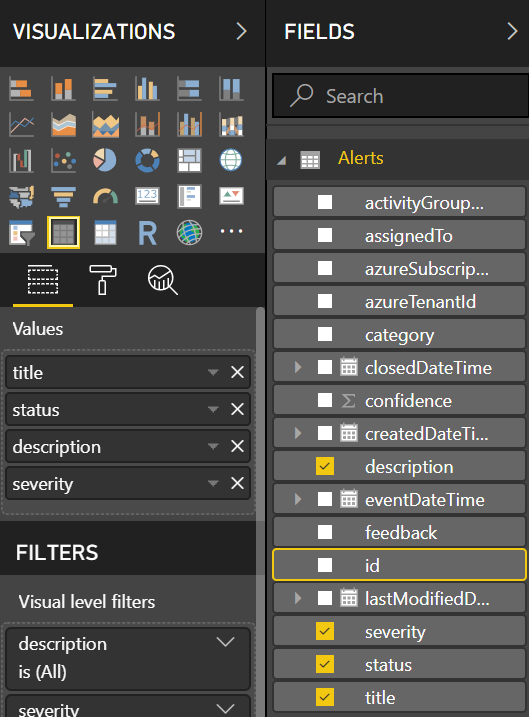
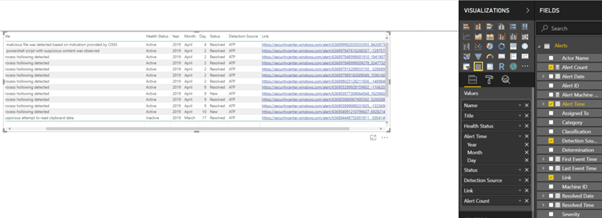
- Two new tables will appear:

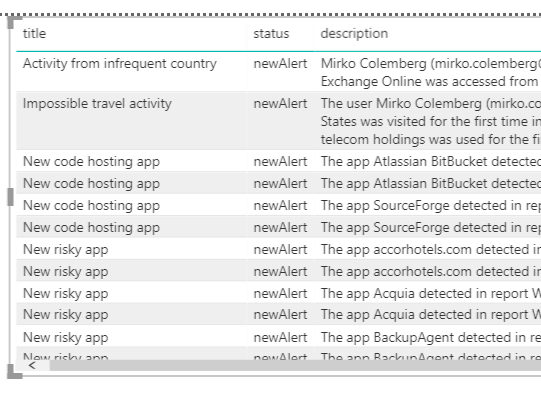
- This enables you to easily create your own report:
or
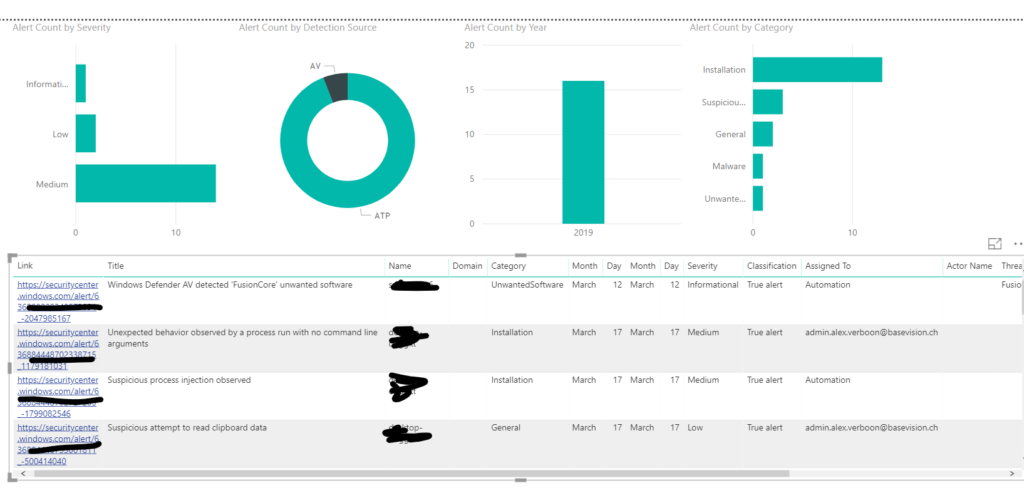
Here are my two templates for your report, hope it helps: https://github.com/slaet/PowerBI
Have FUN creating your own reports! I hope this helps and saves you time which can be used for drinking a beer 😉
Leave a Reply